Online survey tool QuestionPro
Online survey tool QuestionPro

One of my new favorite quick projects is making G new pajama pants. From about two yards of fabric, I can get two pairs of pajama pants done. The pattern comes from a pair of elastic waistband pants he already has, making this adjustable for any size, from baby to adult. Here’s the tutorial! (Note: this tutorial is pretty image-heavy!)
Measurements you’ll need
Waist circumference
Supplies you’ll need
Basic Steps
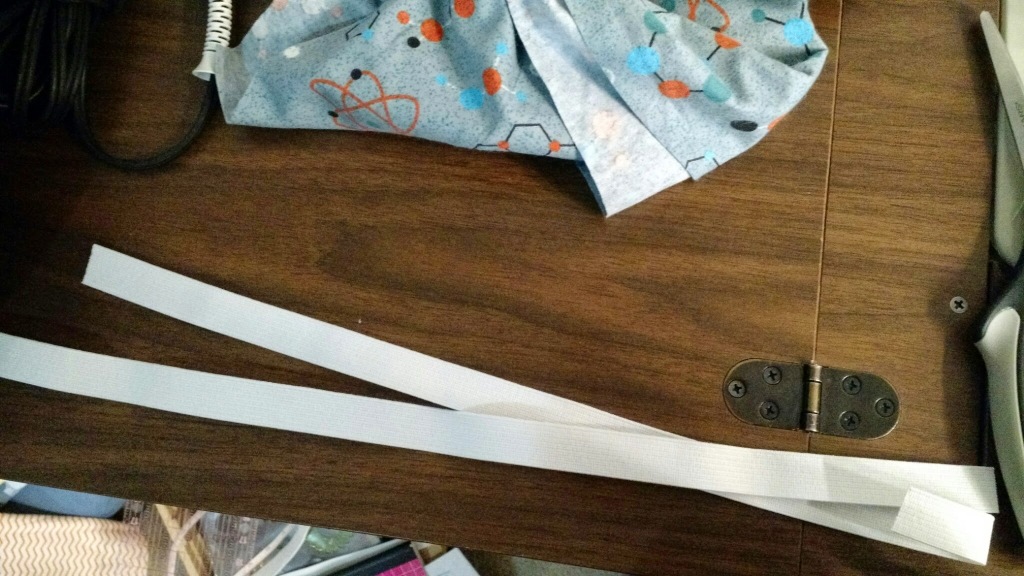
1. First, cut your elastic to the waist size needed. Set that aside. Get the pattern pants, and turn them inside-out. Fold them in half and pull out the seat seam so that it is sticking out.
2. Fold your fabric in half length-wise. Now fold it again length-wise. I usually pull the selvage/raw edge back far enough to allow for a nice extra seam all the way around the pants.
3. Line up the pants along the fold, NOT the selvage edge (the raw edge of the fabric). Leave about two inches along the top and bottom for hemming and attaching the elastic.
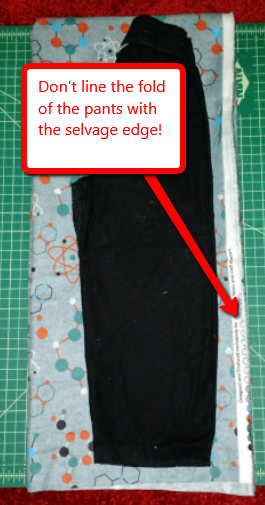
4. If you want, you can draw an outline around the pants, giving yourself an extra 1/2 inch away from the pattern pants. Otherwise, start cutting about 1/2 inch away from the seams of the pants (though leave that couple of inches at top and bottom). Whatever you do, do NOT keep in line with the slant at the top of the pants. That slant happens because the elastic draws that fabric in. Instead, after the curve in the seat of the pants, cut straight up to allow enough room for the pants to go over hips. (Trust me, I followed the entire line of the pants once and had to put all of that fabric in my scrap bin.)
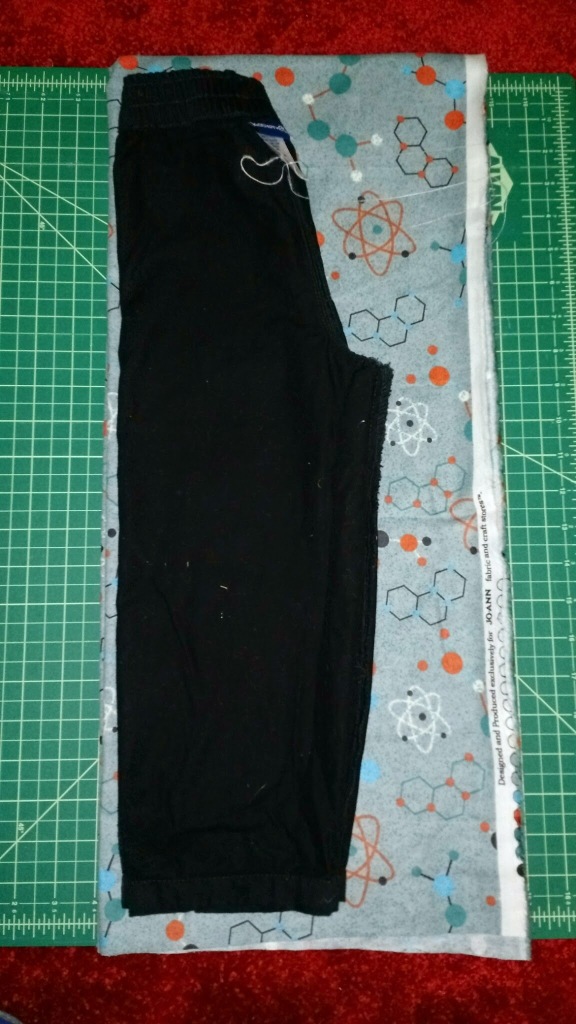
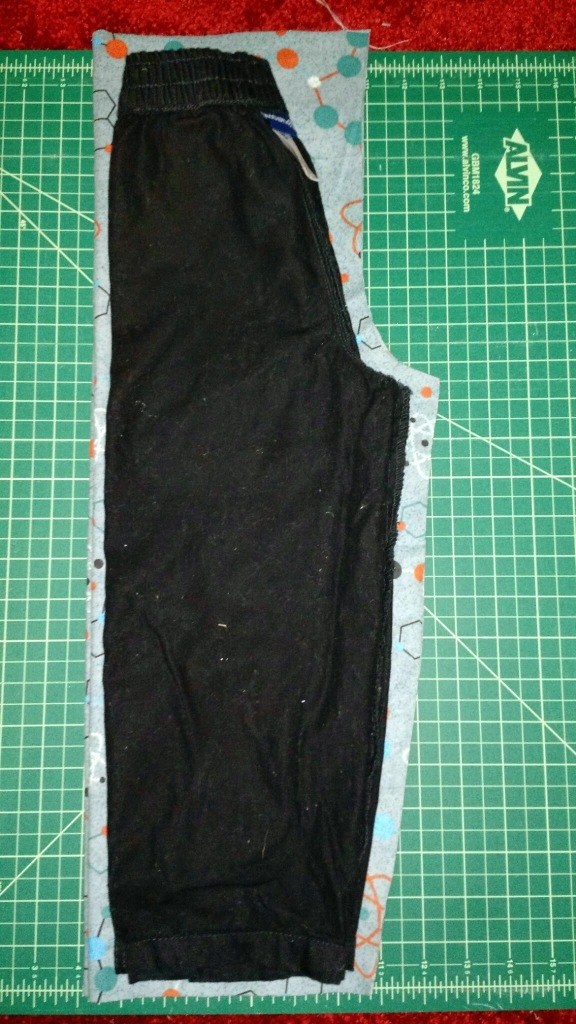 Note the waist is wider than the waistband of the pattern pants.
5. You should now have two halves of pants ready to go. Pull them apart, flip them around so that the printed part of the fabric is facing each other, and line them up, right-side-in.
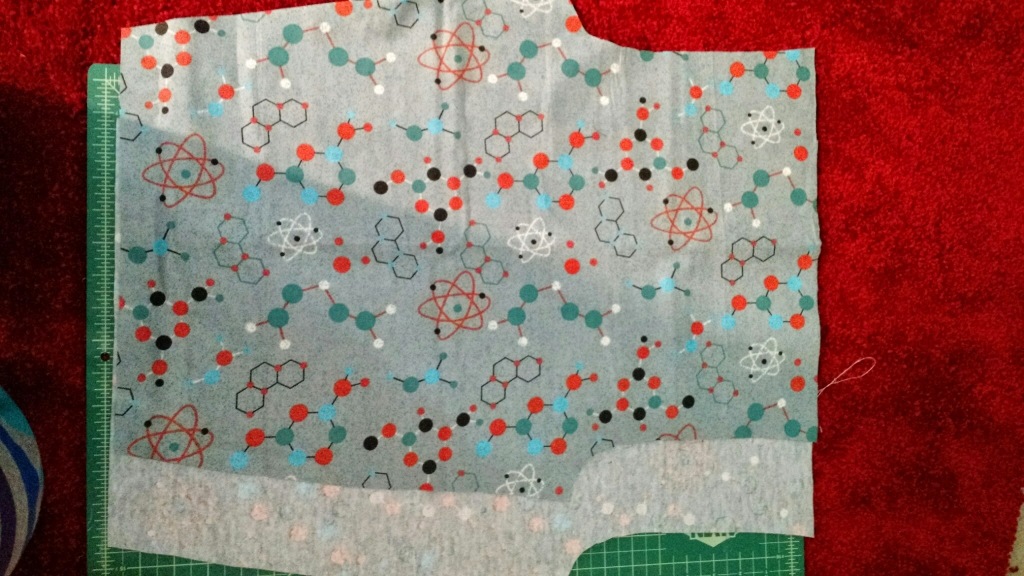
6. Sew from the waist down to the seat on both sides. Do NOT sew the legs. (Again, I say this from experience. If you sew all the way down on both sides, you end up with a really weird looking skirt.)
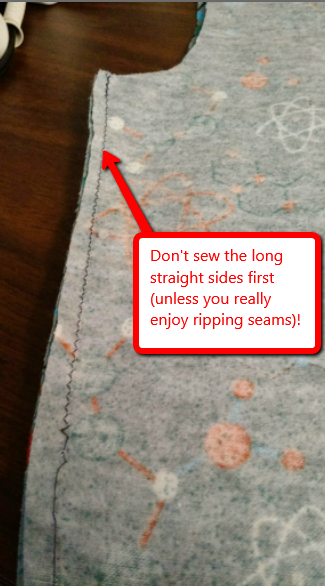
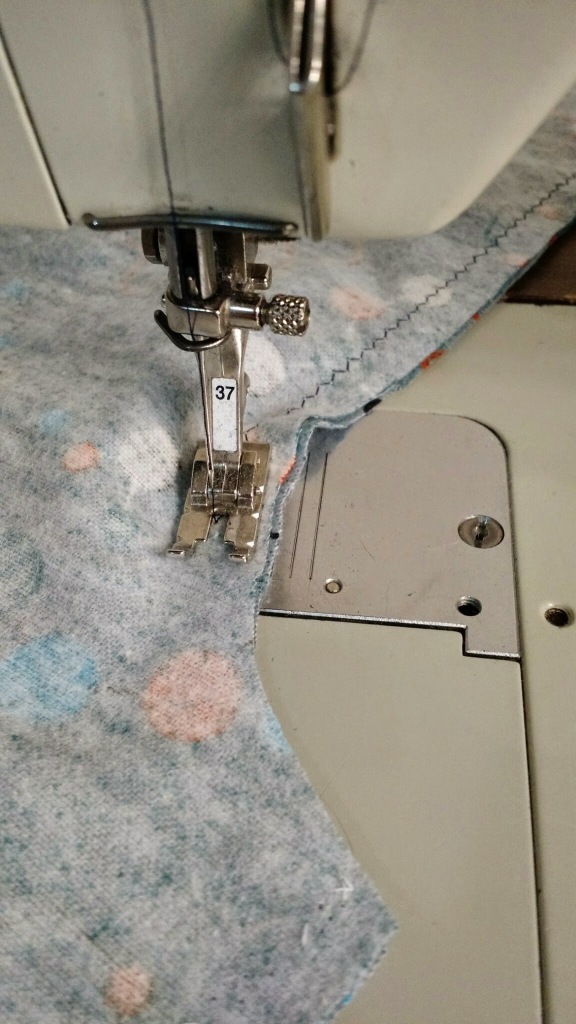
7. Pull the two halves apart and line up the seams you just made. These seams will be the center front and center back of the waist. This should automatically make the legs fold in half.
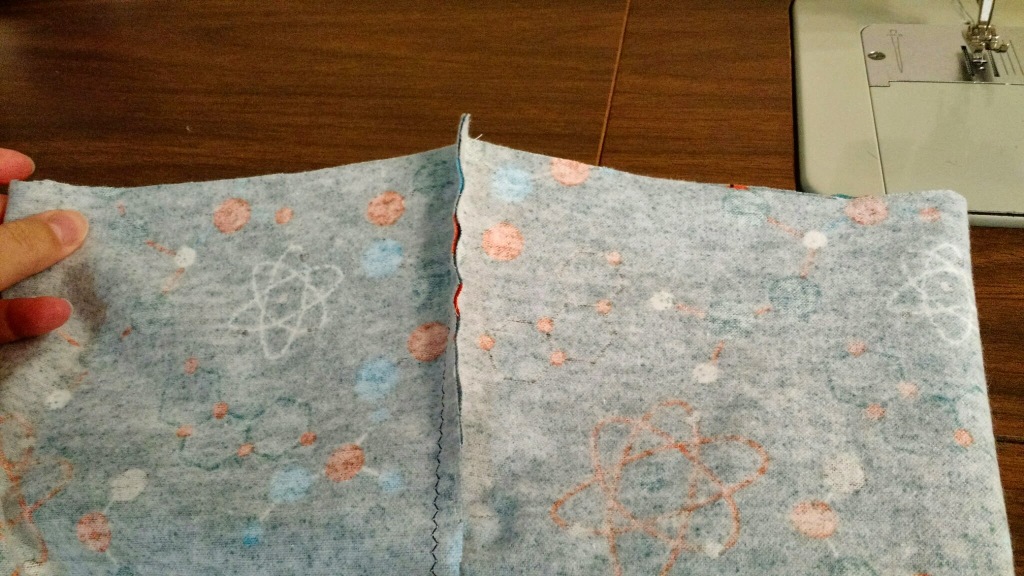
8. Keep the legs unfolded for now so that you can easily hem them. To hem, fold the bottom of each pant leg up about 1/4-1/2 inch, then fold again. You should have a double-fold now for the hem. If you’re a diligent sewer, you should iron this seam. I’m not a diligent sewer.
9. Sew the hem for each leg of the pants. Here, you can use a trick from quilting. Once you’re done with the hem on one leg, just feed the next leg through. In quilting, this is strip-piecing. You’ll be capturing the seam with a cross-seam when you sew the legs of the pants, so you don’t really need to worry about anchor-stitching the hems that much.
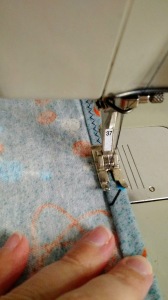
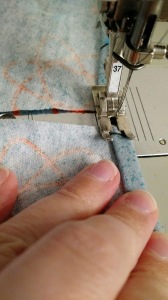
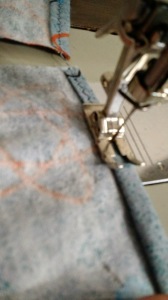
9. If you strip-pieced the hems, snip the thread keeping the two pieces together. Fold the pant legs in half, lining up the edges. Start at one ankle and sew all the way up one leg, across the seat, and down the other leg.
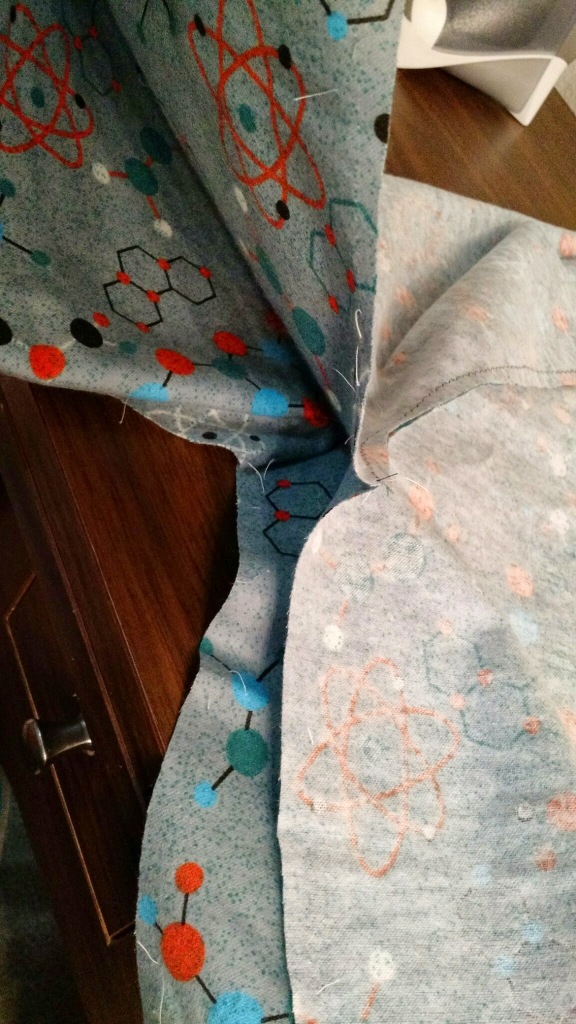
10. Admire the fact you are looking at a pair of pants…almost. Set the pants aside and sew your elastic into a ring by overlapping the ends and sewing it together.
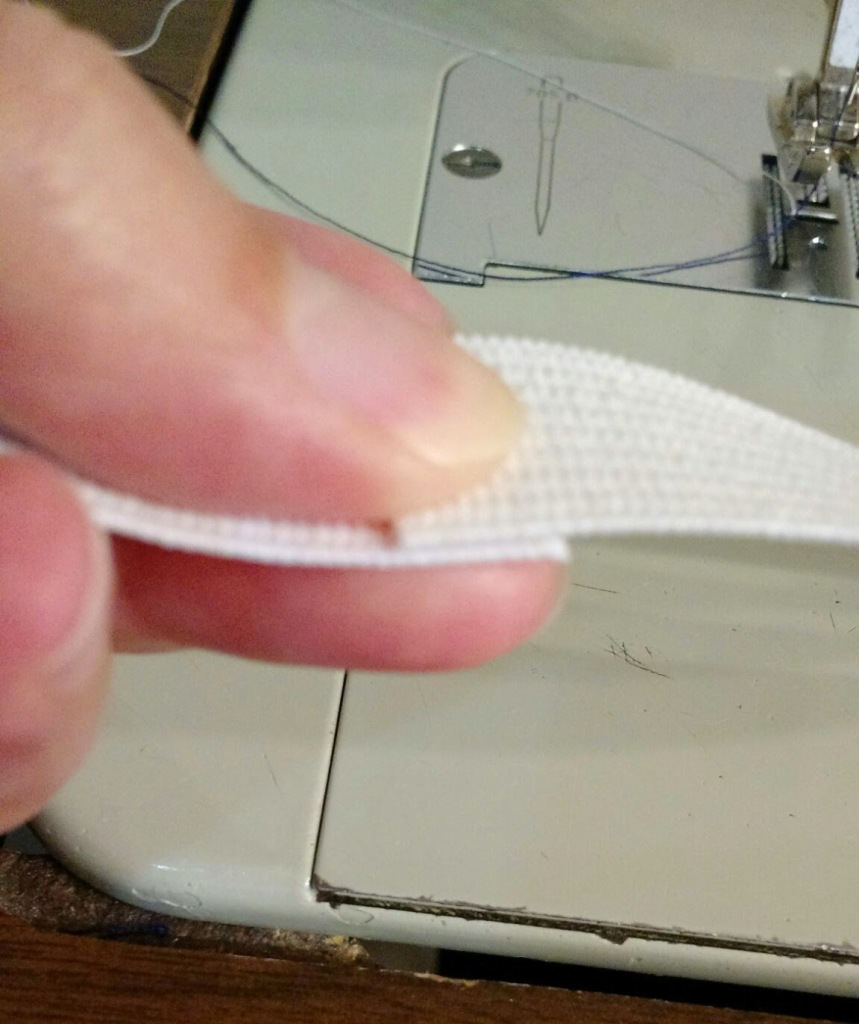
11. Fold the top of the waist down 1/4 inch twice (double-fold) and sew.
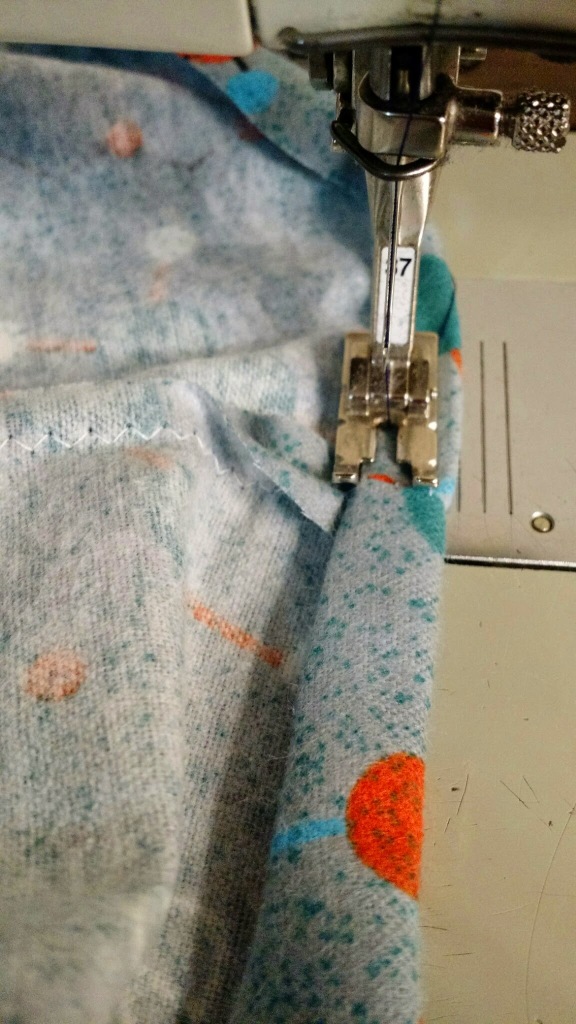
11. Slip the elastic ring inside the waistband of the pants. Line up the part of the elastic you sewed together with the center back seam and pin. Fold the elastic in half to find the center of the ring, then pin that to the front seam. You’ll notice the elastic is smaller than the waist of the pants.
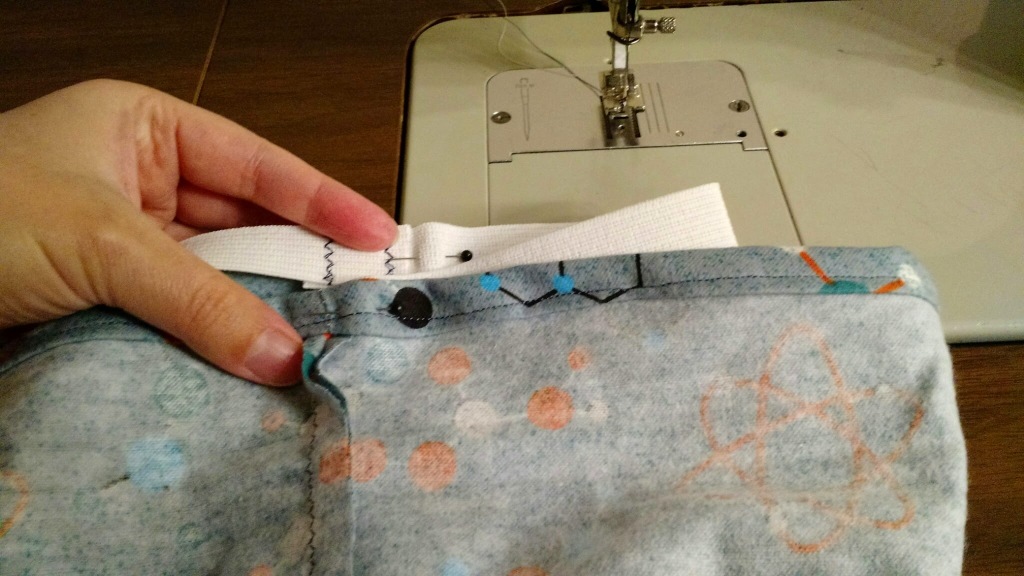
12. Starting at the back seam, pull the elastic tight and start sewing a 1/4 inch seam all the way around, taking the pin out when you reach the front of the pants.
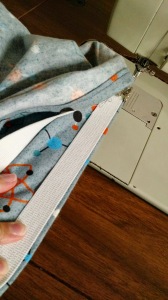
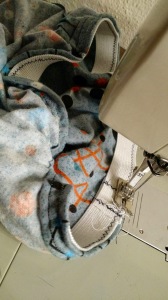
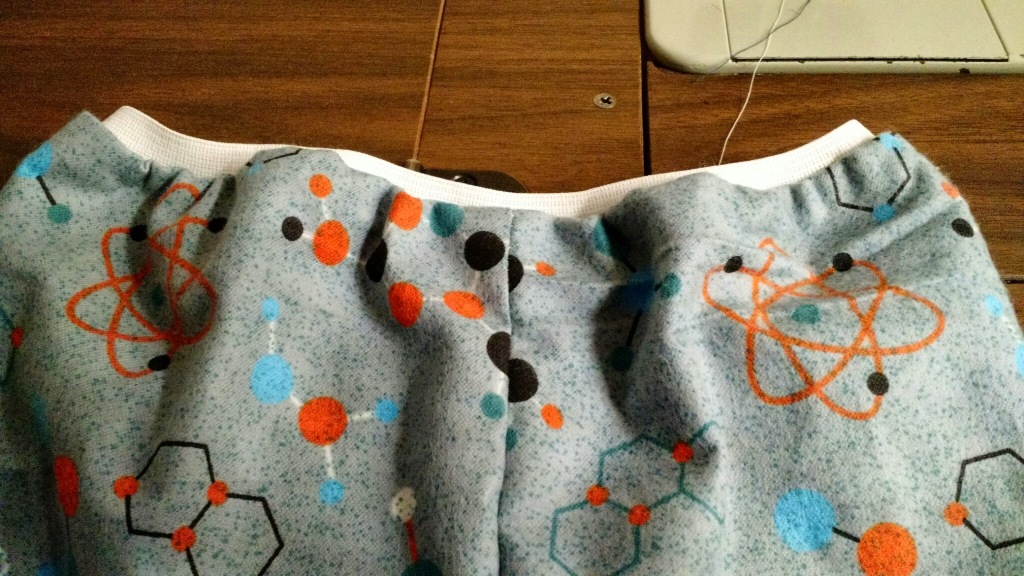
13. Pull the pants right-side-out, flip the elastic up, and admire the fact you now have a pair of elastic waist pajama pants!
14. Put the pants on the kiddo, and relish in the smiles.
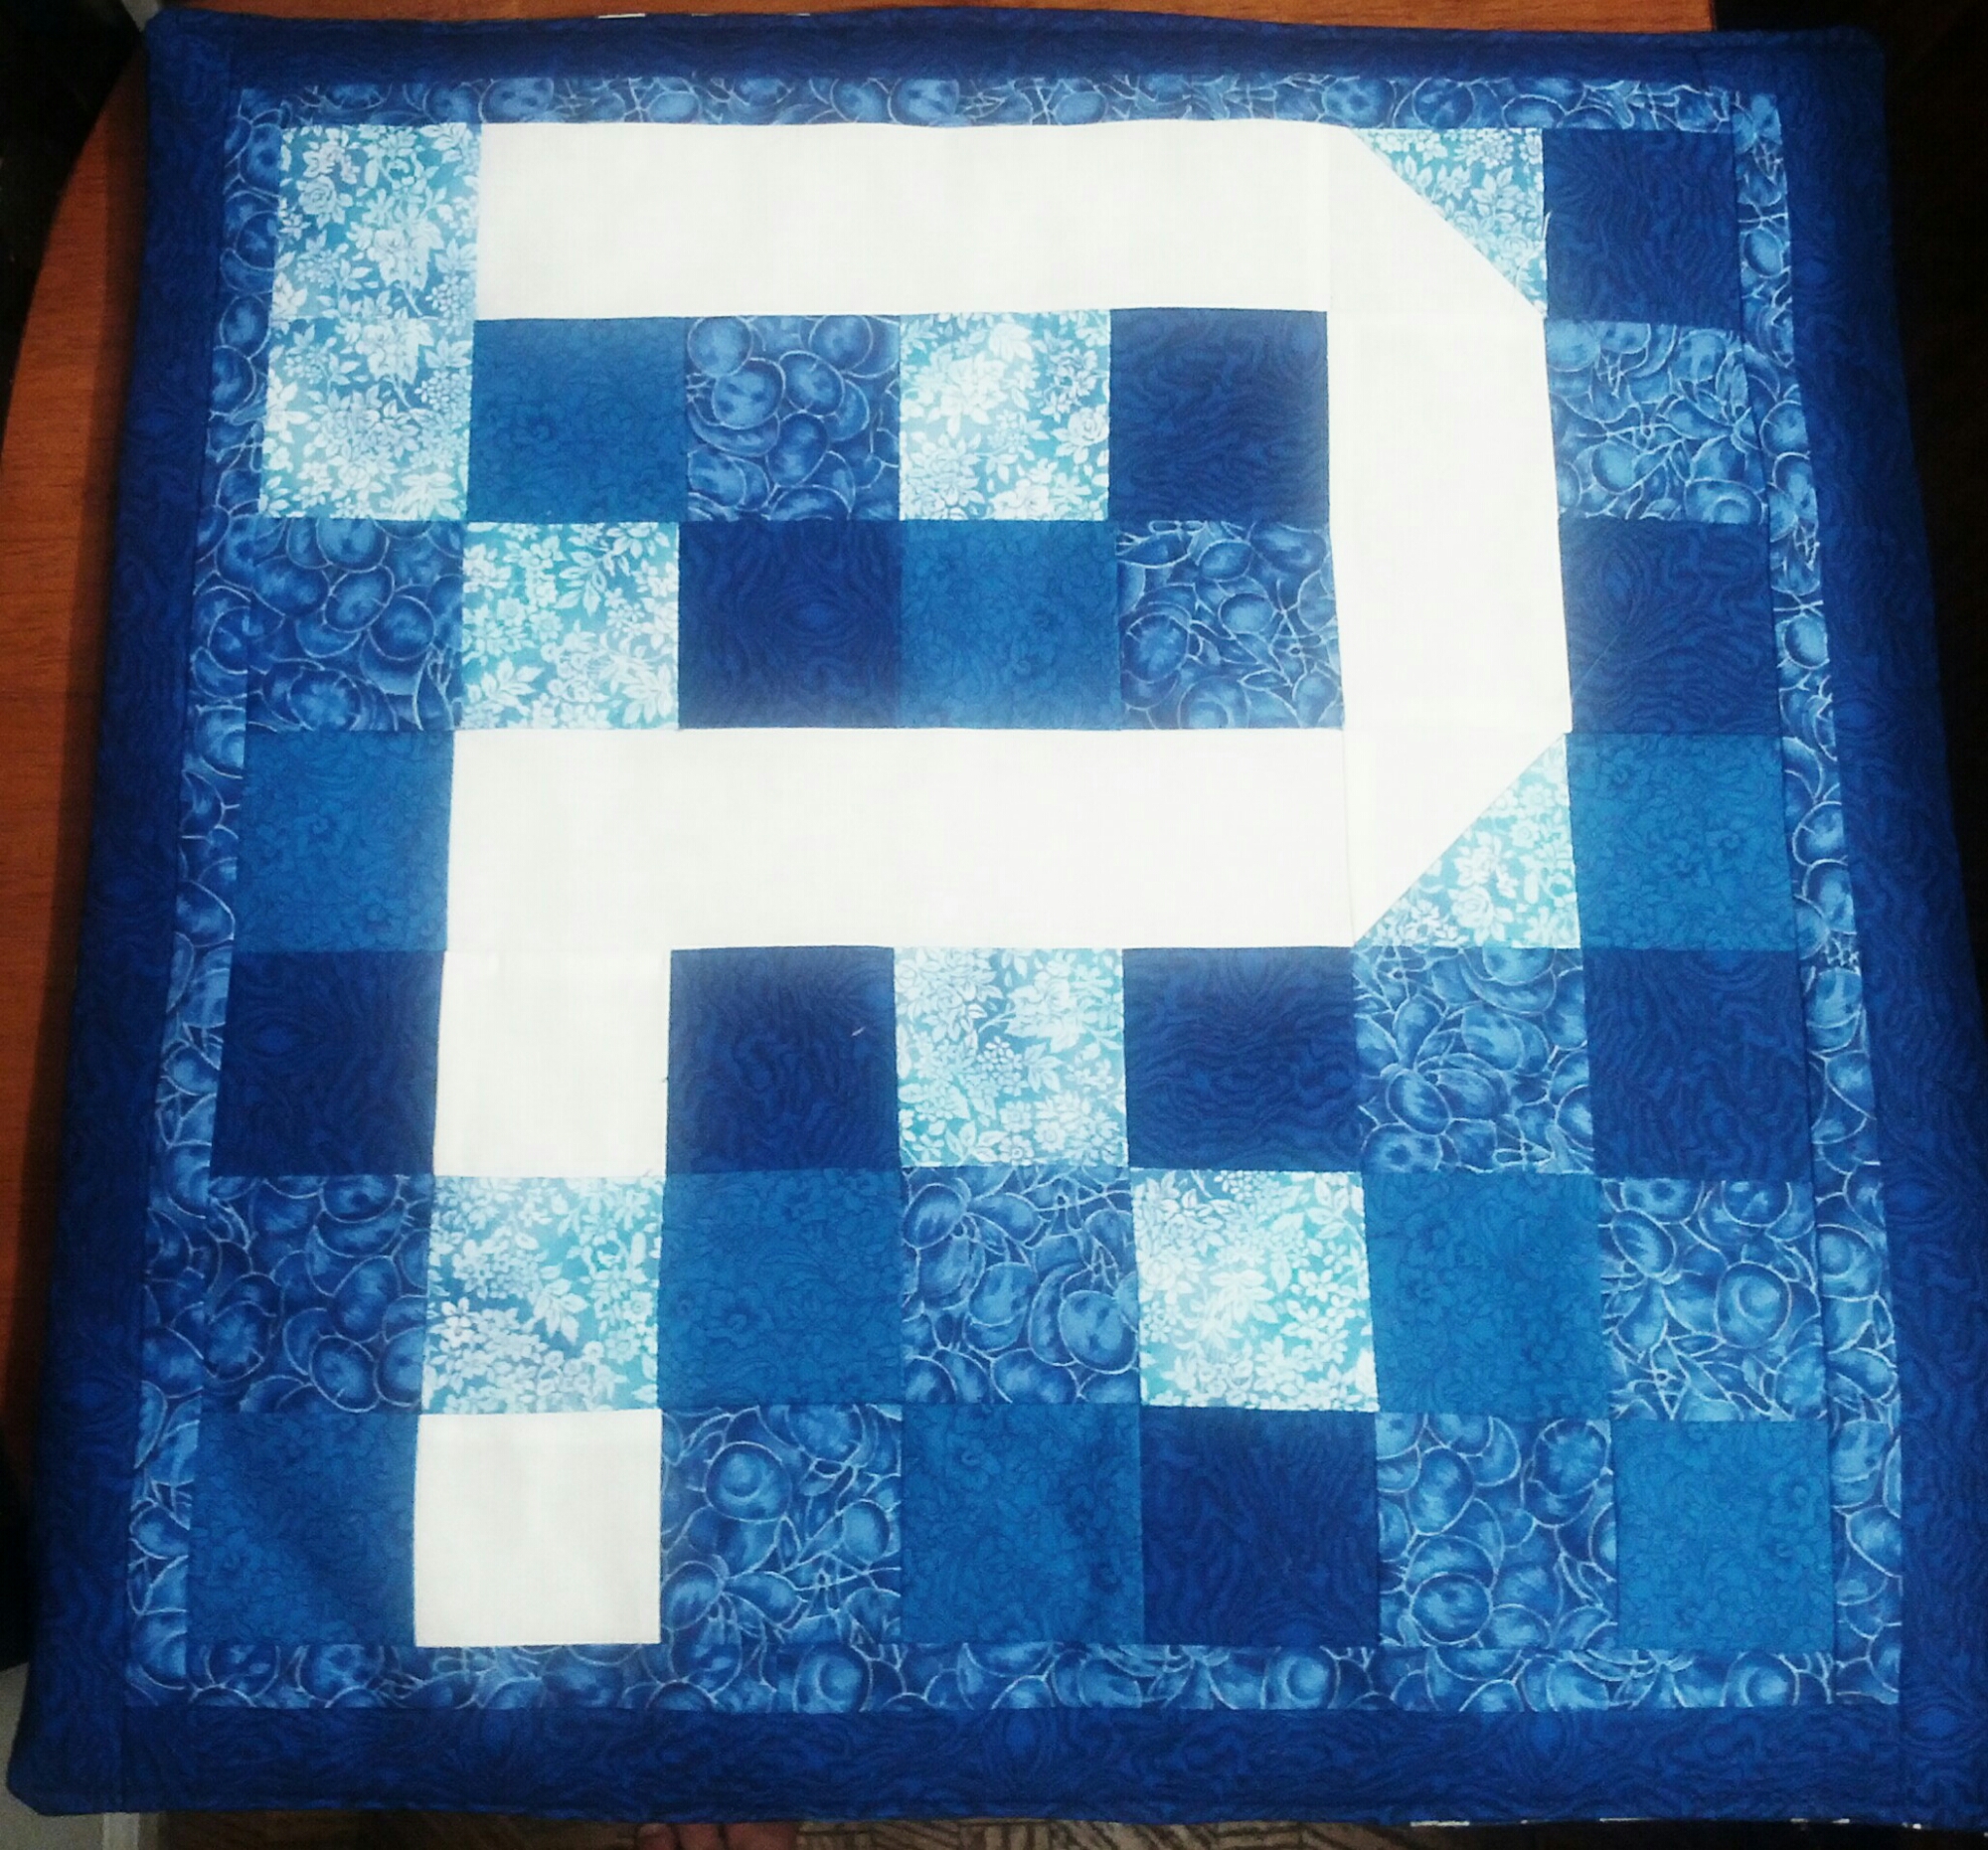
Amid a tedious project at work, I mapped out our logo for a wall hanging/coffee table cover. Our logo is white and blue, so I had fun pulling blues from my stash in a range of tones to help the white pop. This is a rare project where I did a double border, too. I used 2.5-inch squares throughout, with a 1-inch inner border (after seams, it became a half-inch) and 1.5-inch outer border (after the inner seam, it became 1.25 inches).
I’m pretty pleased with the result. The batting is puffy polyester batting; the backing is a random blue in a totally different shade, but since it was the backing, I wasn’t too concerned with the matching. I didn’t do any quilting to keep it all simple. All told, this took about 4 hours, from sketching to cutting to piecing and completing. The toughest part was scattering the blues enough since I only used 4 shades of blue. You can see one spot where I ended up with two squares of the same pattern next to each other.
It felt so good to have a simple project I could out together in a few hours! I’ve missed my regular sewing time and my backlog of projects!
I realize it’s been sounding like crickets lately. I have been swept up in my work and my family, and I haven’t done much in the way of sewing for quite some time. I miss it dearly. I loved playing with color, texture, learning new techniques, and finding my creative side in the stuff I sewed.
I have that Star Trek themed quilt sewn together, but I haven’t quilted it yet. I have other Star Trek blocks ready to piece together for some simple quilts, but I just haven’t done that, either.
Because I need to rebalance some time to be creative, I’m going to at least get my quilt top out and photographed for the blog, then find my box of projects and choose one to finish in the next month (and getting a quilt top pieced counts as finishing). I have a dress I need to sew up, too, and all it takes is a few seams and adding some straps! And, with that, I’m aiming for a weekly progress post here to at least show myself that there has been progress over time!
Here’s hoping I can find those projects I had been setting aside for so long…
Four, one-yard cuts of flannel (two bought on clearance for $2/yard, the others bought on a 50% off sale for $5/yard).
Four-ish yards of elastic.
Eight pairs of pajama pants. (Two pairs of pants from each yard of fabric.)
Six pairs of pants were cut and sewn today over the course of about two hours total. The other two were done a few weeks ago in a moment of desperation when all of his pajamas were in the washer.
I love pajama pants!
I tried something new with these pants: I attached the elastic at the top so that it would peek out the top, rather than inserting the elastic into a casing. It let me save an inch of fabric that would otherwise have been lost to the casing (after finding that G’s legs were a little longer than I realized!). And I must admit, I kind of love the look! My favorites are the space print and the dinosaur print. The robot print is from a pair I made for G last year, but I had triple-hemmed them, with the intent of letting them out as needed. Well…letting them out was definitely needed this month!
And now for my favorite part – the photos (click on each for a larger view).
This year’s Christmas crafts:
Star Trek lap quilt for my dad, who helped introduce me to science fiction. I used 10.5-inch blocks, and I quilted using stars, Star Trek insignias, and outlines of the Enterprise (following the icons on the front of the quilt).
A table runner for my mother. I used leftover fat eighths I had from the lap quilt I made for myself this last spring. I sewed a couple of big nine-patches, then cut them in fourths for a disappearing nine-patch runner with a fat eighth in between. I really enjoyed playing with the disappearing nine-patch here.
A Hello Kitty pincushion for my very good friend and a couple of owl pillows for her and her guy. I made the owls using super soft fleece for one; the other has a head made from quilting cotton and a body made of super soft fleece. I finally used up my three bags of stuffing on these projects!
A few hot pads for my mother-in-law. I made a lot of these until finally finding the thickness that seemed to work best (2 pieces batting and one piece InsulBright thermal batting).
It’s been a busy Christmas week, but I have loved the chance to sew up this storm!! I haven’t done much sewing since going back to work full time. That’s been good for my fabric hoarding, but I miss the therapy of creating something. Too bad I can’t take my sewing machine on the bus!
I seem to have reached a crossing point in my sewing. I have crossed from going to a store to find myself a skirt first to going to the fabric store to see if there is any fabric on sale that I can make a skirt from first.
That’s a big step.
That’s the step into the land of crazy.
But that’s also the step I found myself taking a couple of weekends ago when I needed to give my wardrobe a little bit of a business-style refresh. See, I have been making comfy, cute skirts and sundresses for myself over the past two years, but when it comes to something I feel comfortable wearing into an office…let’s just say my retro mushroom skirt with leggings probably isn’t going to do the trick.
So, needing at least one office-worthy skirt that would also be comfy, wouldn’t make me feel horrible when I looked at the size, and would be flattering, I decided to head to my local Joann’s Fabric to check out what they had in jersey knits that was on super clearance (i.e., they had a 50% off clearance fabric sale happening right when I needed to make a skirt for office-wear).
Thankfully, I found two knits that I loved! The first was a simple black jersey; the second was a charcoal and green striped jersey. Both were supple and soft. I decided to go for a maxi-style for the stripe and a mid-length for the black. I also had tons of yardage of a mauve-toned jersey that someone from church gave away as she was moving away. I decided to try out a fold-down yoga skirt tutorial I had pinned long time ago.
The first skirt was done using the mauve print; the photos were taken with my phone, so I apologize for the fuzziness. The first skirt took the longest, as well. I failed to read and realize that, when gathering fabric, you need to hold BOTH the top AND the bobbin threads. I kept gathering fabric, only holding the top thread, only to find I was just pulling the top thread out! It took me awhile to get the hang of gathering fabric — I kept waiting for the threads to break! Thankfully, they didn’t break, and I was able to get my gathers done and serged into place with the waistband.
With that experience under my belt, I tackled the black and striped knits. For the black knit, I decided to cut the body of the skirt to have an a-line that would minimize the gathering. I did this mainly because after trying on the mauve skirt, I wasn’t too keen on how the gathered look…looked. The odd thing with the black skirt is that after sewing and serging, it ended up with the angled look. That was entirely accidental, but I rather like it now! The maxi skirt was done as a simple a-line, but I used the tutorial for the yoga skirt to help me with the waistband. I just made sure the top of the skirt was as wide was my waistband when cutting.
What I love most about these three skirts is they took me a weekend, they are flattering, comfy, simple, and cost a total of $19 in fabric. Hurray for sewing!!!
I have a new project. It’s taken awhile for me to get going on it, but the pieces are cut and they are coming together.
Here is the project:

Here are a few photos of some of the blocks I’m working on for this. They were taken on my phone, so they’re a bit small, but I hope they give you an idea of what’s getting sewn. I’m a little worried about this all being a little too colorful, but we’ll see what happens.
This week has somehow gone by without my doing much sewing. Instead of sewing, I ended up crocheting an infant hat for the annual Mariners Stitch ‘n Pitch night. I’m not much of a knitter (still learning and still very, very slow), but I can crochet fairly well, and I can certainly appreciate the time and effort and skill hand-knit items take. I can also drool over super soft, awesome-colored yarn (if you ever touch baby alpaca yarn, you will feel like everything else is so ridiculously coarse!). And it’s a great excuse to hang out with friends!
But today, I went back to a bit of sewing. Actually, I finally ironed my binding for my linked chain quilt (and finished ironing the pile of clothes on the sofa that have been hiding under a quilt project for a few weeks…but I digress). This binding is different from other bindings I have done. Why? It’s pieced. Why? Because I learned that Joann’s Fabrics carries some of their precut lines only for a limited time, and that seems to be the line I fall in love with, and I fall in love with it too late, so that I find myself scrounging for coordinating fabric to finish the project I started with the precuts! Last year, it was the summer quilt. Maybe next year, I’ll remember the lesson from the past two years and plan ahead?
At any rate, I couldn’t find any yardage of the fabric I originally wanted for the binding. Instead, I ended up taking the fat eighths I had purchased (when I couldn’t find another jelly roll and needed just four more strips for the quilt front) and cutting strips from the fabrics for the binding. I really hope it works!
 |
| As a roll, it looks pretty awesome! |
 |
| Pieced, ironed in half, and ready to be rolled up. I love how the patterns all blend together. |
I also am nearly finished (as in I have maybe 2 feet left to stitch down) with the binding for my Berenstain Bears quilt! I loved the look as I stitched it on, and I’m loving the look as I hand-stitch the back.
 |
| Loving the way the binding brings it all together! |
My husband gave me a challenge for piecing that will let me try my hand at a bit of applique in quilting. As soon as I manage to clean up my ridiculously messy sewing corner and unearth my sewing machine again, I’ll be back to cutting and piecing! I’m excited for the next few projects I have up my sleeve!
Two tries, and I finally got a binding fabric that ties the Berenstain Bears quilt together! I love it! I realized I hadn’t posted photos of the quilting I had done on this quilt, so here’s a photo-heavy look at the quilt with the binding attached (but not completely stitched yet). This was my first attempt at more modern quilting, breaking out of loops and stars and flowers.
| I love the binding! |
| Textures! |
| Quilting those diamonds is a lot tougher than it may look. |
| A better view of the loops in each patterned square. |
| On the ironing board. I love the texture this shows! |
| Another view of the binding and quilting from the front. And some random hangers. |
| Closer look at the wavy pattern on the border and the binding. |
| I tried to frame each center block a bit with the quilting. |
And here’s a look at the back!
| I really love the little frames all over the back of the quilt! |
| You can see each “frame” from the back and the squiggles between each frame. |
| I find quilt backs like this just as fascinating as the quilt fronts. |
| The binding is attached on the front, and will be hand-stitched on the back. |