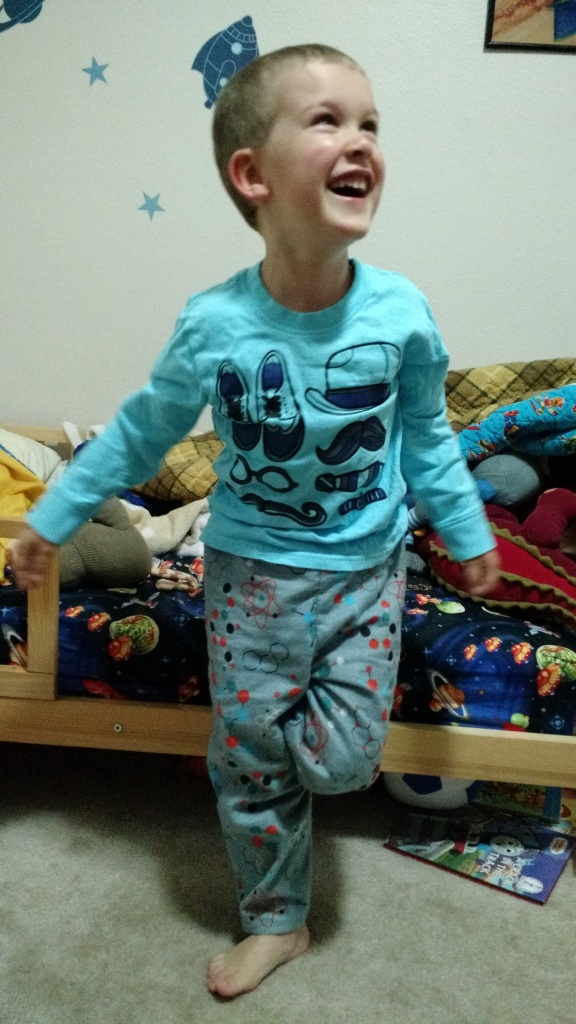
One of my new favorite quick projects is making G new pajama pants. From about two yards of fabric, I can get two pairs of pajama pants done. The pattern comes from a pair of elastic waistband pants he already has, making this adjustable for any size, from baby to adult. Here’s the tutorial! (Note: this tutorial is pretty image-heavy!)
Measurements you’ll need
Waist circumference
Supplies you’ll need
- A pair of elastic waistband pants that currently fits
- 1 yard of flannel fabric (though cotton, fleece, and knits would all work, too)
- Pins
- Thread to match
- Sewing machine
- Fabric scissors
- Pajama/underwear elastic (1-inch elastic)
Basic Steps
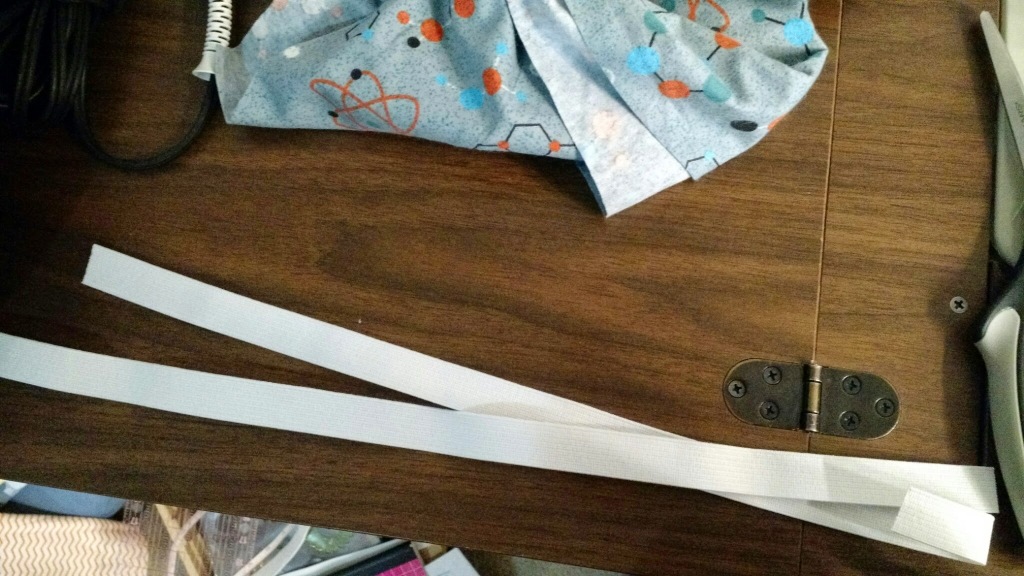
1. First, cut your elastic to the waist size needed. Set that aside. Get the pattern pants, and turn them inside-out. Fold them in half and pull out the seat seam so that it is sticking out.
2. Fold your fabric in half length-wise. Now fold it again length-wise. I usually pull the selvage/raw edge back far enough to allow for a nice extra seam all the way around the pants.
3. Line up the pants along the fold, NOT the selvage edge (the raw edge of the fabric). Leave about two inches along the top and bottom for hemming and attaching the elastic.
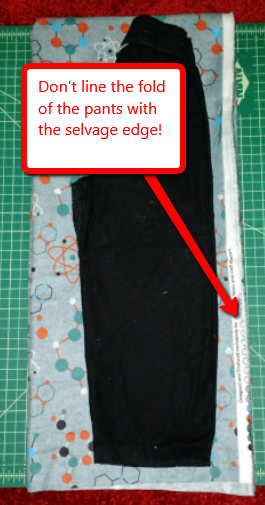
4. If you want, you can draw an outline around the pants, giving yourself an extra 1/2 inch away from the pattern pants. Otherwise, start cutting about 1/2 inch away from the seams of the pants (though leave that couple of inches at top and bottom). Whatever you do, do NOT keep in line with the slant at the top of the pants. That slant happens because the elastic draws that fabric in. Instead, after the curve in the seat of the pants, cut straight up to allow enough room for the pants to go over hips. (Trust me, I followed the entire line of the pants once and had to put all of that fabric in my scrap bin.)
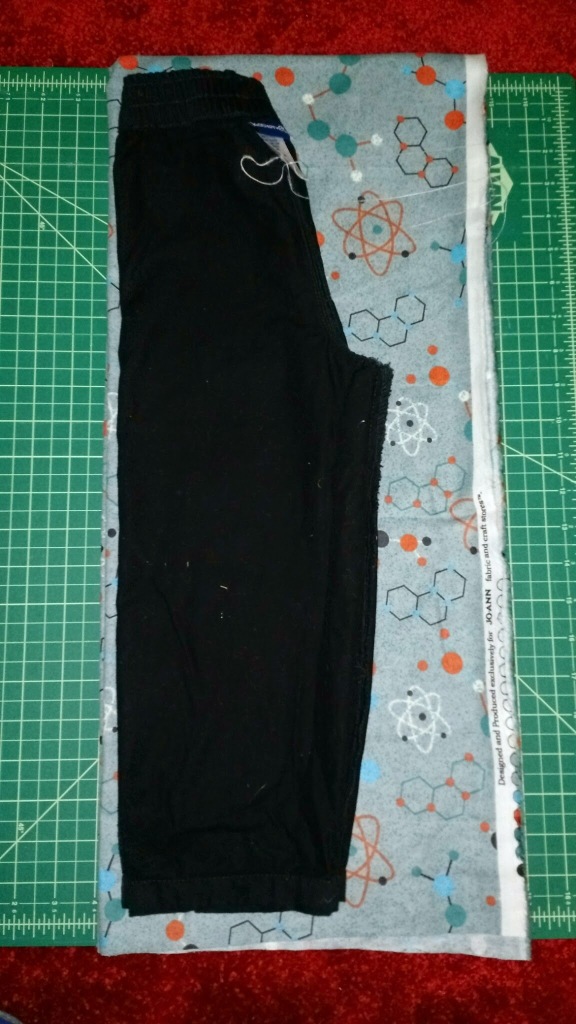
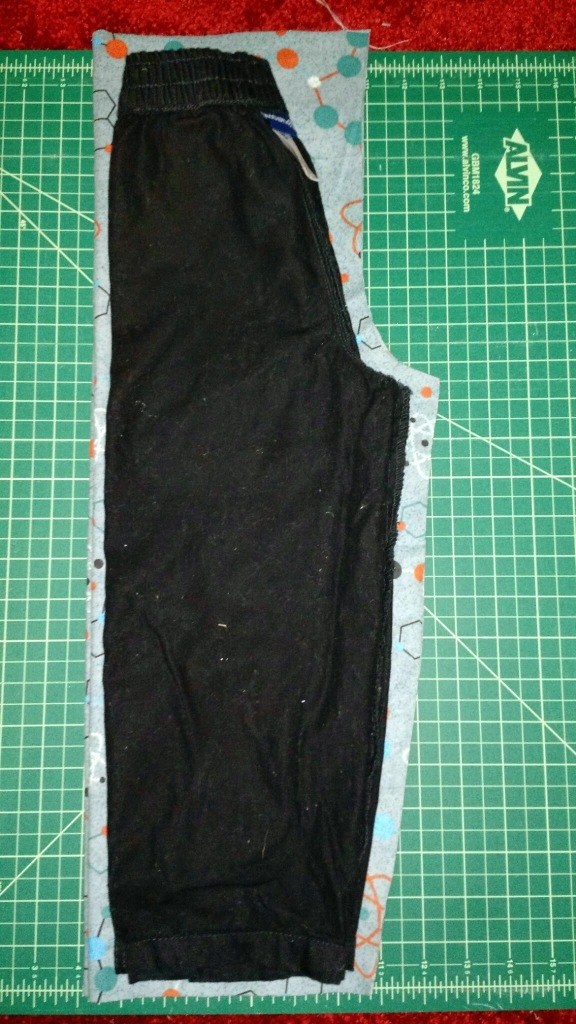 Note the waist is wider than the waistband of the pattern pants.
5. You should now have two halves of pants ready to go. Pull them apart, flip them around so that the printed part of the fabric is facing each other, and line them up, right-side-in.
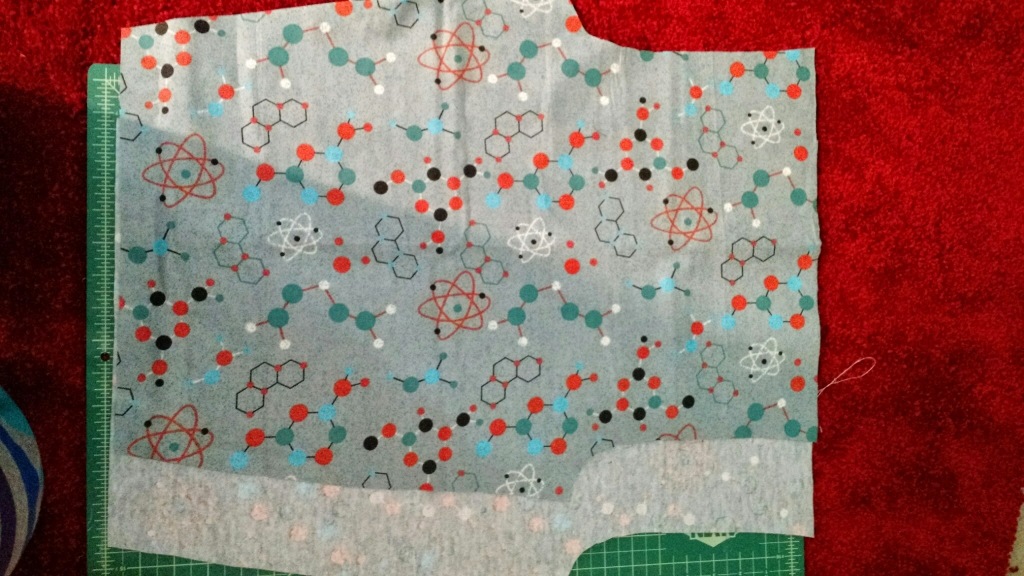
6. Sew from the waist down to the seat on both sides. Do NOT sew the legs. (Again, I say this from experience. If you sew all the way down on both sides, you end up with a really weird looking skirt.)
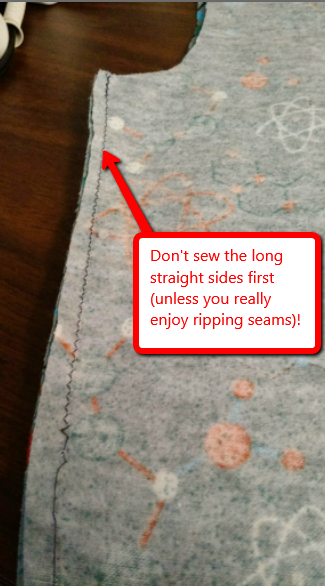
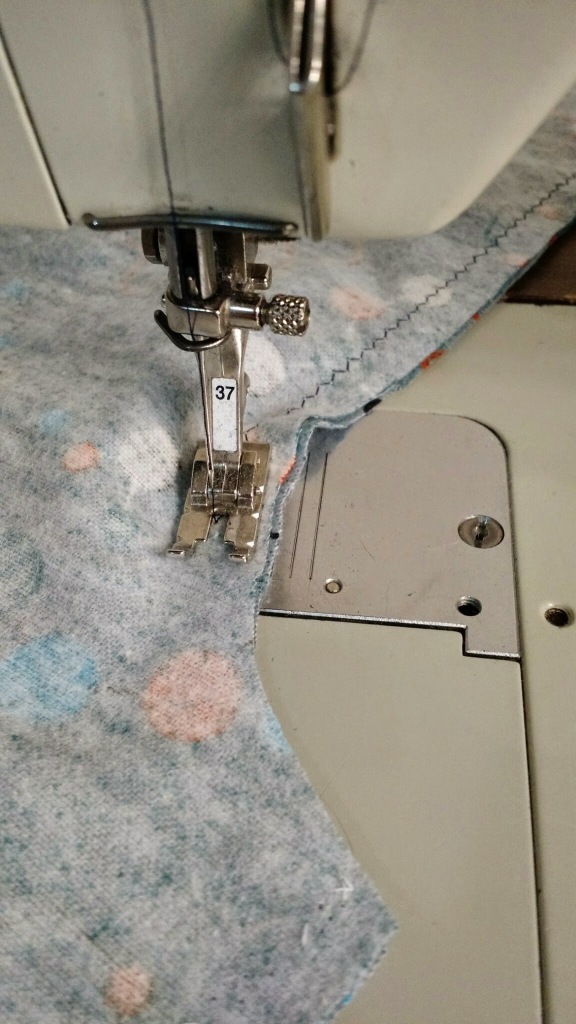
7. Pull the two halves apart and line up the seams you just made. These seams will be the center front and center back of the waist. This should automatically make the legs fold in half.
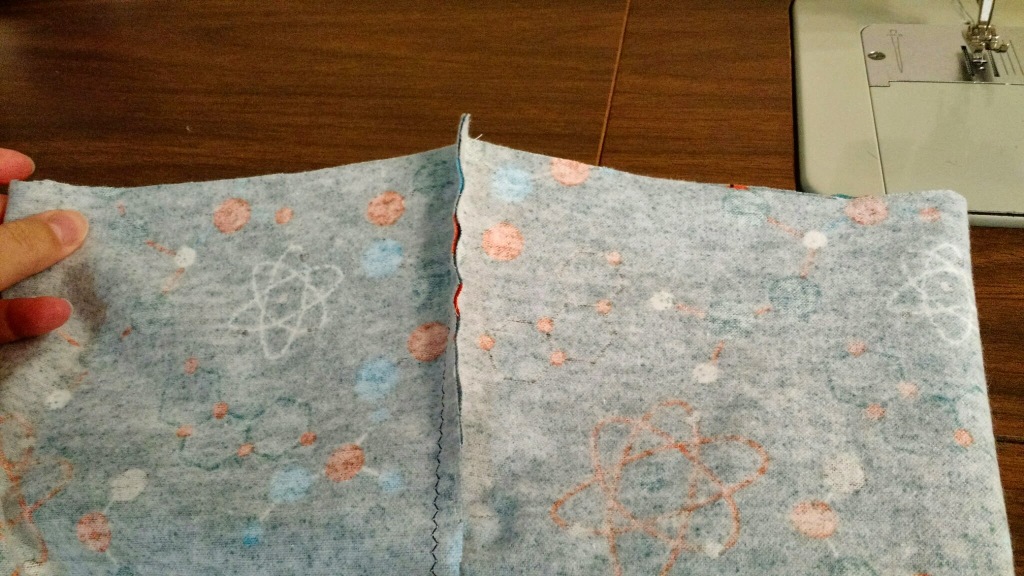
8. Keep the legs unfolded for now so that you can easily hem them. To hem, fold the bottom of each pant leg up about 1/4-1/2 inch, then fold again. You should have a double-fold now for the hem. If you’re a diligent sewer, you should iron this seam. I’m not a diligent sewer.
9. Sew the hem for each leg of the pants. Here, you can use a trick from quilting. Once you’re done with the hem on one leg, just feed the next leg through. In quilting, this is strip-piecing. You’ll be capturing the seam with a cross-seam when you sew the legs of the pants, so you don’t really need to worry about anchor-stitching the hems that much.
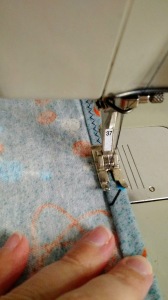
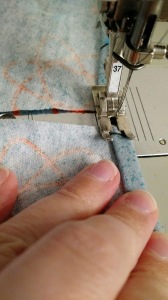
9. If you strip-pieced the hems, snip the thread keeping the two pieces together. Fold the pant legs in half, lining up the edges. Start at one ankle and sew all the way up one leg, across the seat, and down the other leg.
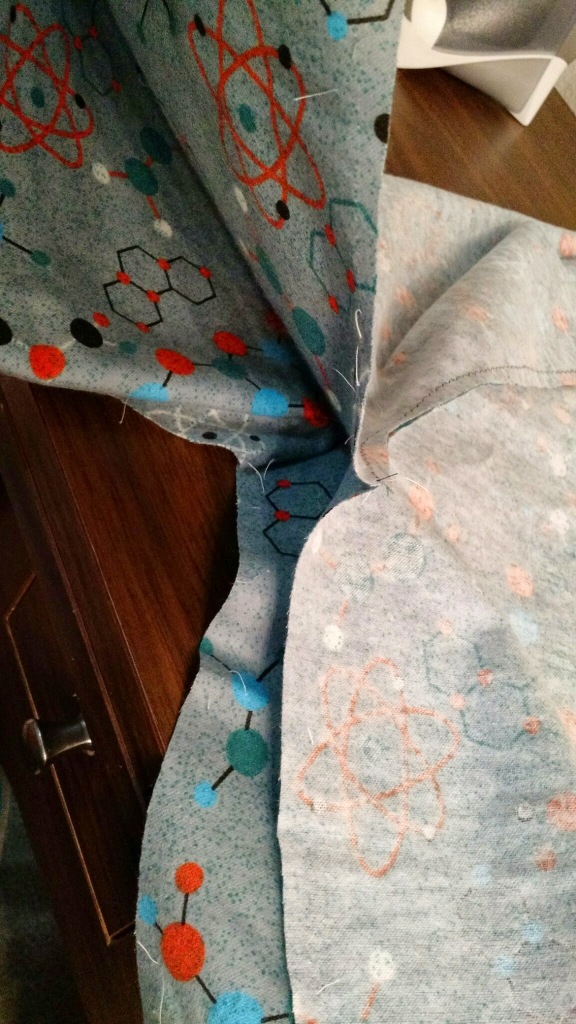
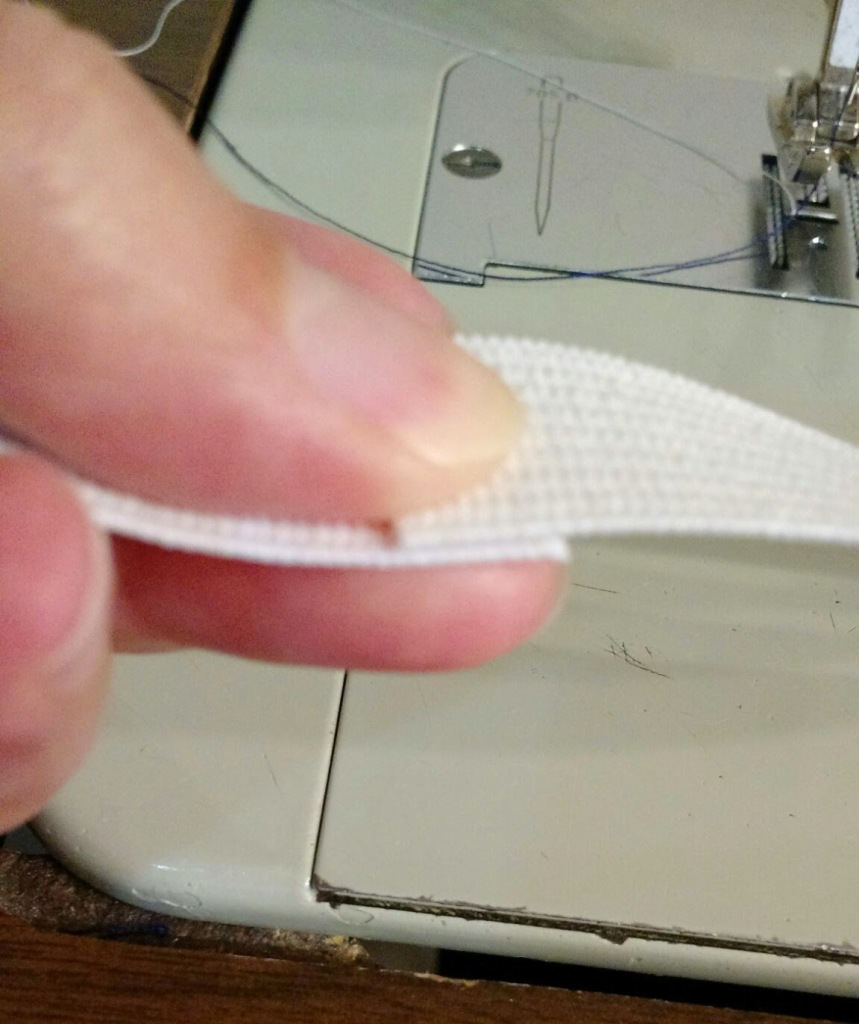
10. Admire the fact you are looking at a pair of pants…almost. Set the pants aside and sew your elastic into a ring by overlapping the ends and sewing it together.
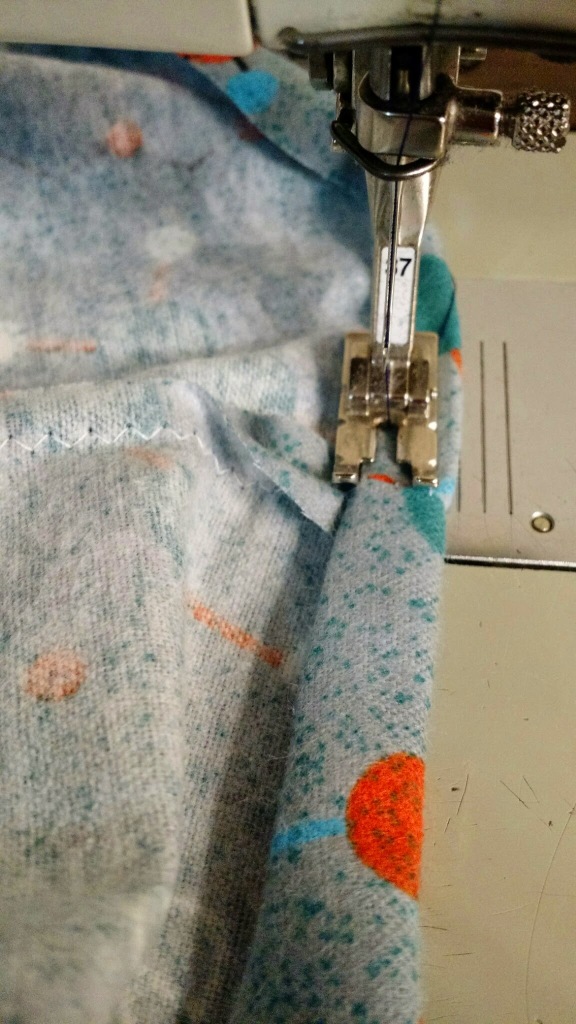
11. Fold the top of the waist down 1/4 inch twice (double-fold) and sew.
11. Slip the elastic ring inside the waistband of the pants. Line up the part of the elastic you sewed together with the center back seam and pin. Fold the elastic in half to find the center of the ring, then pin that to the front seam. You’ll notice the elastic is smaller than the waist of the pants.
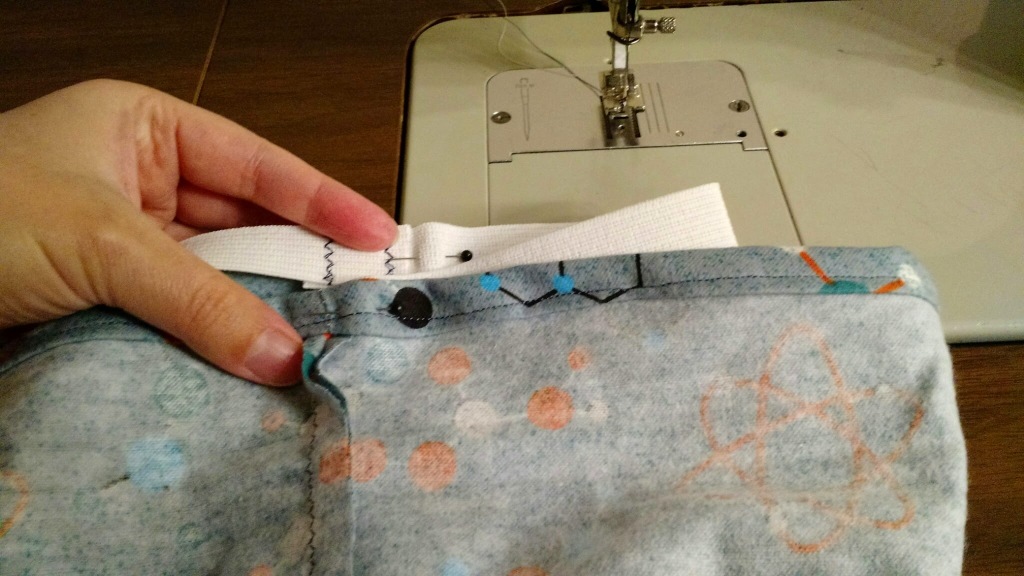
12. Starting at the back seam, pull the elastic tight and start sewing a 1/4 inch seam all the way around, taking the pin out when you reach the front of the pants.
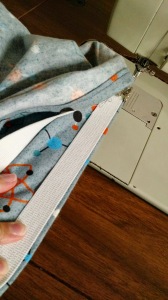
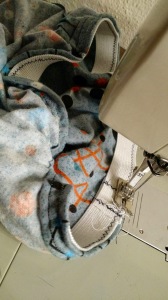
13. Pull the pants right-side-out, flip the elastic up, and admire the fact you now have a pair of elastic waist pajama pants!
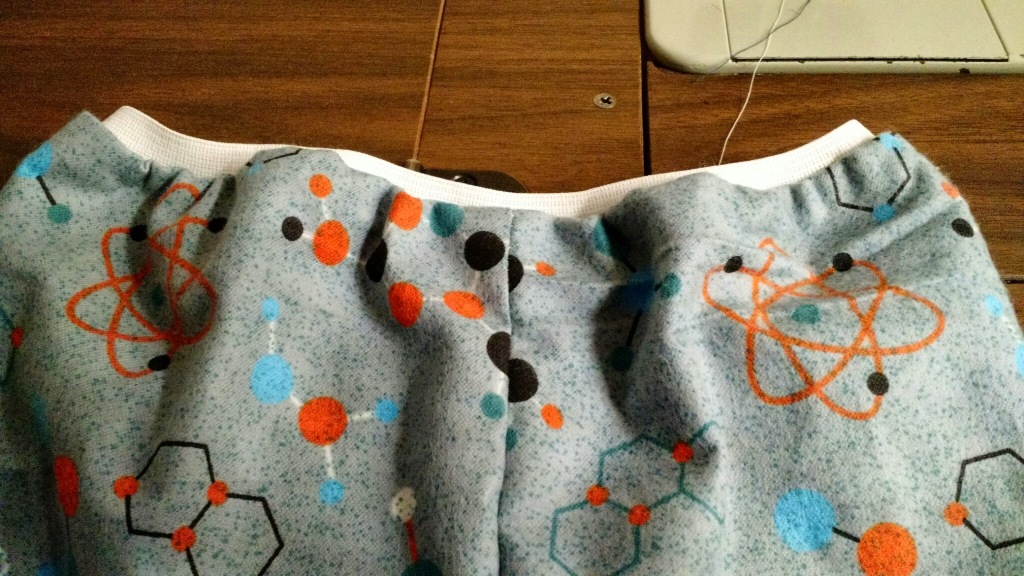
14. Put the pants on the kiddo, and relish in the smiles.

