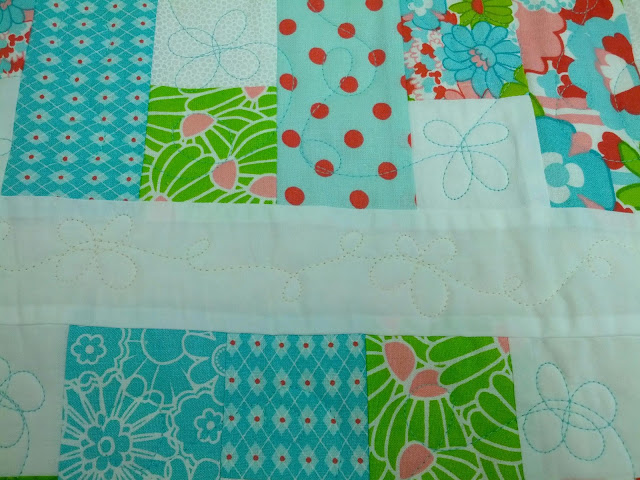
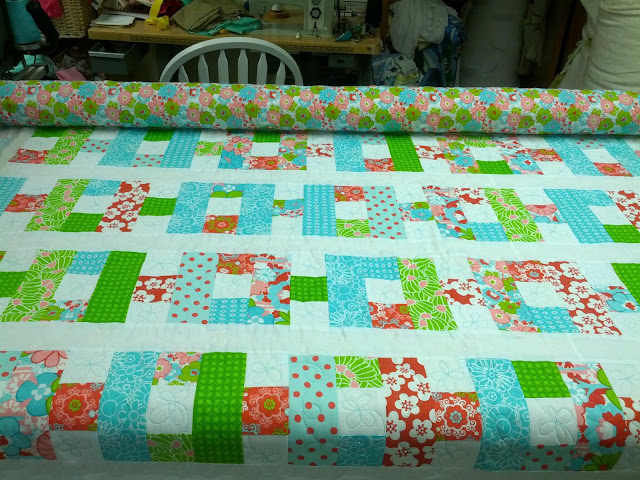
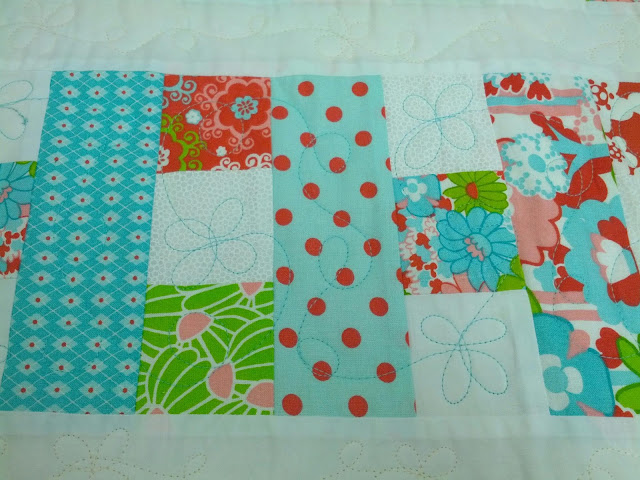
While it’s still on the machine, I thought I’d post a few photos of the quilting for my chain quilt. I went with a meandering butterfly, kind of like the one seen in Winnie the Pooh. I love how it keeps the flowery feel without needing to repeat the flowers themselves. On to binding!
All posts by zontziry
Modified Wiggly Whimsy = Linked Chain
 |
| From Moda Bake Shop. |
| Finished quilt top. |
I’m excited to quilt this! I have no idea what design I’ll use, but I’m thinking I might do flowers in the sashing to echo the floral prints. I hope to have this quilted in a few days!
Wiggly Whimsy
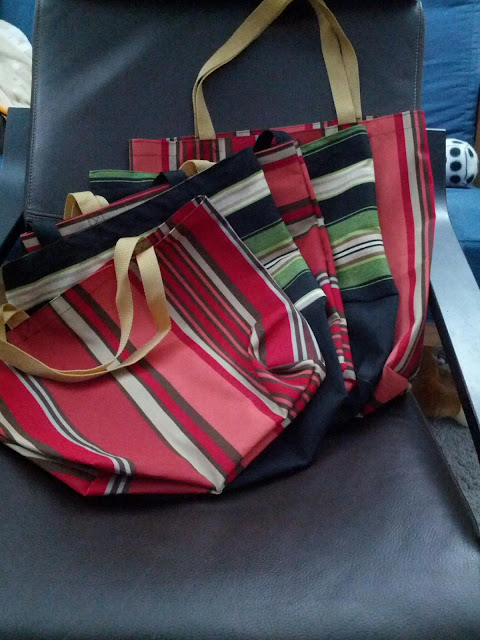
A Bag-load of Bags!
Awhile back, I made a set of reusable grocery bags from outdoor fabric and outdoor canvas. We use those bags for everything – library books, groceries, packing snacks and small items for road trips…you get the idea. The only problem is there are only five. We have other reusable bags, but they haven’t held up as well.
During my spring cleaning, I found more fabric, so I set about making more bags! There are six in the photo, but I made two or three earlier that are already in use.
So…what do you call a stack of 13 reusable bags?
Tri-Cities Quilt Show
My mother-in-law invited me along to the Tri-Cities Quilt Show this year. I’ve been to a quilt show once before, but I wasn’t sewing then nearly as much as I am now. My appreciation for design, piecing, and quilting is far, FAR higher than it was when I went to the quilt show a few years ago.
Aaaand we’re back (part 2)!
| Crib-sized quilt using a charm pack of Berenstein Bears by Moda. This is where those half-square triangles were used! |
 |
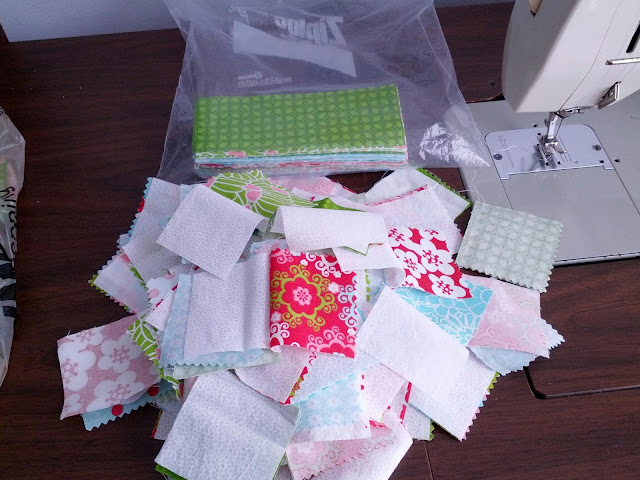
| Spring cleaning – time to sort through the fabric! 6 big bins of fabric now. …plus 5 shoebox sized boxes with my upcoming projects! |
| Mother’s Day 2013 gifts for myself. LOVE the Michael Miller fabric used for the skirt! |
Aaaand we’re back (part 1)!
| Quilting!! |
 |
| pajama pants for Lil G |
 |
| Fitted sheet for Lil G’s crib |
 |
| Another fitted sheet (guess what the theme of his room is?) Pillow case, too. |
 |
| Another fun view of the fitted sheet and pillow case. |
 |
| Super random throw pillow using fun dice them fabric! |
| Fermenting my own sauerkraut! |
 |
| Trying out the quick trick for half-square triangles! |
 |
| All my triangles cut – talk about a time saver! |
 |
| Make-shift “design wall” using batting pinned to the wall! |
Super Comfy Pajama Pants
You know that super ridiculously soft fleece that seems to be reserved for baby blankets and throws to use on the couch while napping or watching a movie?
I made myself a pair of pajama pants out of it.
They are thick, ridiculously soft, warm (but not roasting), ridiculously comfortable, and I actually asked my husband to do a special load of wash so I wouldn’t have to go a night without them. (And my spectacular husband did, giving me the pants warm out of the dryer. 200 points to Gryffindor for that one!)
I used a very simple pattern using a pair of flannel pajama pants I had made and that had become a little frayed. I unstitched them to get the pattern I needed and created a reusable pattern using special pattern fabric so I can make more comfy pants in the future.
I did learn a few things about working with snuggle fleece in the process of making these. My feed dogs on my machine had a bit of a hard time feeding the fabric through as I sewed. And because I was using a matching thread, with such a high mat to the fabric (in other words, like a high mat carpet that you love to sink your feet into), it was a bit difficult to see the stitches. Basically, you just end up with a thin indentation at the line of stitching. And even using a regular 2.5 stitch length, the stitches ended up smaller simply because the feed dogs couldn’t move the fabric as far with each stitch.
My only issue with the pants is that I made the legs about an inch too long. I love having a little extra length in the legs for lounge pants, but I may have a little too much with these and might end up increasing the hem.
Until then, I’ll be waiting for JoAnns to have another super sale on their snuggle fleece so I can snag another cute print for another pair!
Super Geeky (Not Sci-Fi) Quilt Idea
A friend of mine commented that when he read the title to my last tutorial on hemming napkins, he thought it actually read, “Hilbert Napkins,” referring to the Hilbert curve.
This is a Hilbert Curve:
 |
| Attribution (also cool use for Presidential Candidate travel map) |
 |
| From Wikipedia article on Sierpinski Triangles |
Another mosaic
Since people could enter the Emerald mosaic contest twice, I decided to take another gander at putting fabrics together. I was too late to submit this particular mosaic, but I thought I’d post it on my blog anyway, because I enjoyed having a different approach and drastically different result.
Instead of starting with a solid green, I started with the three greens you see. I had originally been working on a complete collection of kind of airy green fabrics that had green in them, but were mostly grounded in white or cream. I wasn’t liking how they were fitting together, so I started over.
This time, though, I started with VisiBone Webmaster’s ColorLab. It’s a great tool for those doing web design to get an idea of how colors will mesh together. I chose colors opposite from each other on the color wheel first (green and purple), then another color close to purple, then another close to green. The result was a green-purple-orange-yellow combination that I really liked!
Above is the resulting set of fabrics I chose in those colors. My only qualm is the top purple fabric. It seems too heavy for the rest of the fabrics I included, but I had a surprisingly difficult time finding a good purple! It seems there are plenty of browns, greens, blues, reds, PINKS, and oranges, but not too many yellows or purples — at least not in the theme of simple patterns that I was looking for. What do you think? I’ve really enjoyed working with color combinations and then trying to hunt for fabrics that matched.
